Installation Instructions — How NOT to screw things up
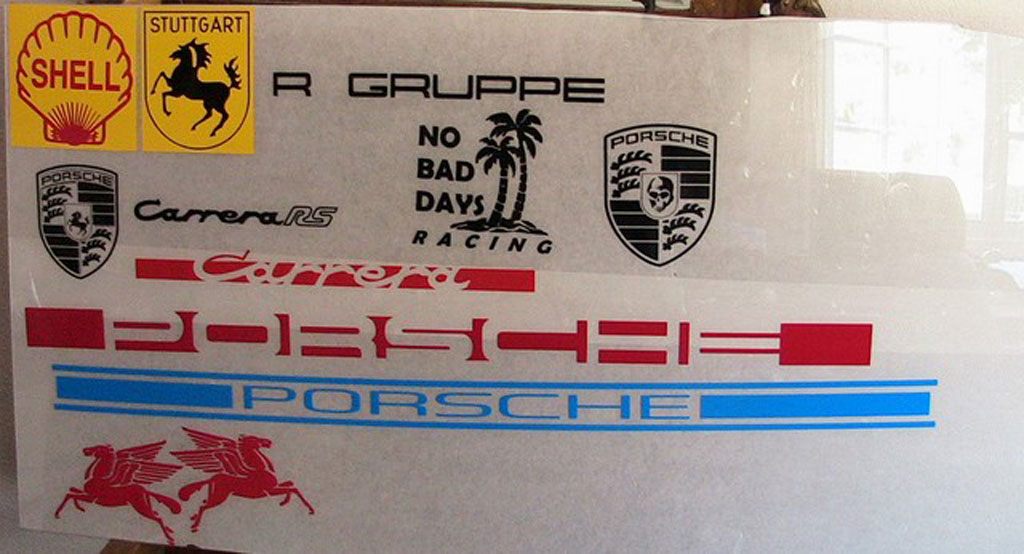
Applying your vinyl graphics is simple if you follow some basic guidelines. The graphic comes in one piece and is sandwiched between a paper layer of transfer tape and a wax layer of backing. If you ordered your decals to be arranged in order, they will come as one large display. They will be mounted all at once.
Before applying, flatten it out in a warm room. Always install the graphics when the temperature is above 55 degrees F. And don't try to install in windy conditions.
You will need a few items for applying the letters
- Weak soapy water in a spray bottle or mister. (Make this solution with three or four drops of dish washing liquid in a quart of water.)
- A piece of hard plastic or “squeegee”, or a plastic putty knife.
- 1/2″ masking tape.
- Exacto knife or a single edge razor blade.
- A tape measure
Clean the surfaces that you are going to install your graphics on.
To get the vinyl straight, start with a piece of tape on one corner, with the backing still on the graphics (try not to get ahead of yourself). Place it where you think it should go. Go ahead! You can always move it if you don’t like the position.
Bring the other side into position and tack it down with another piece of tape. Use a tape measure to be sure it is level. If you have a straight edge on the paper backing to measure to, great! If not, measure from the edges of similar letters. Stand back and take a moment to look at its position. If you have a good eye you can see if it looks correct or straight. If not, measure it again and again if need be. This is the most important part so get the measurement and placement as accurate as possible. “Hinge” the graphic along the top straight edges with a long piece of tape. Half of the tape should be on the transfer paper and half on the surface of the window. If the decals or letters are large, you may want to cut in between the decals or letters to work with a smaller section at a time. After making cuts you can flip the graphic back to remove the wax paper and everything else stays in place.
You can do this next process “wet” or “dry”. Wet is best. Spray a little of the soapy water solution on the surface that the letters will go on. Don’t over wet. Peel back the paper backing and expose the sticky side of the vinyl. Spray the sticky side of the vinyl with soapy water. Big, long names or signs sometimes call for a helper at this point, but if you have a name or sign that can be divided into smaller sections, cut between the letters so that you’re dealing with a more manageable piece of vinyl.
Hold the vinyl close to the window. It won’t stick if you’ve wet the window too much. Holding the free edge tightly, just off the surface, pull the squeegee across the centerline of the graphic, working towards the edges.
Many times it’s easier to smooth out the decal if you mist the adhesive backing with a little soapy water. Wetting it also prevents it from sticking immediately Usually a wet application is good, but don’t get it too soapy or it won’t stick at all, you will have to rinse some of that soap off with fresh water. Generally, use the wet application, as it’s easier to squeegee out water bubbles than it is to squeeze out air bubbles. When all the water evaporates out from under the name in a few days, the vinyl will adhere as if you did it dry to start.
Now you can lift one of the sections up and squeegee from the centerline toward the edges. Always work from the center toward the edges! Do this to avoid trapping air or water bubbles.
Finish off the other sections in the same way (from the center to the edges, then from the middle to the top and bottom). If you started with a good alignment the decals will be placed correctly.
Squeegee a little more for good measure. Finish by peeling the transfer tape by pulling the paper very slowly back on itself. Don’t just pull straight away from the surface. The slow motion will allow the vinyl to stay on the surface while removing the paper. You don’t want to pull the vinyl off the surface. Pop any bubbles with a pin and press out the air or water. Any water bubbles will evaporate.
You now are done with the application of your new vinyl graphics. Go have a beer, you earned it.

